What Is a Billable Expense in Quickbooks?
 When using Quickbooks to keep track of your business’s financial records, you may come across “billable expense.” Some business owners assume that billable expenses are any business-related expense, but this isn’t necessarily true. It’s a special type of expense, and recording it requires a different method. So, what is a billable expense, and how to find them using Quickbooks?
Overview of Billable Expenses
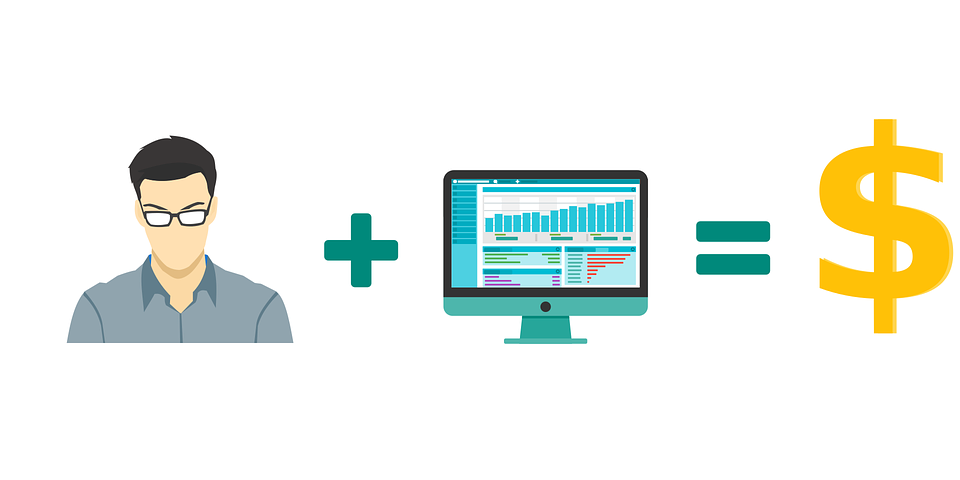
A billable expense is a product or service that you, as the business owner, purchases on behalf of a customer or client for the purpose of performing work. It’s called a “billable expense,” because it’s just that: an expense that you can bill. You initially incur the expense because you purchase it on behalf of the customer or client. Later, however, the customer should send you payment for the amount of the expense.
It’s important for business owners to use billable expenses if they purchase products or services on behalf of their customers or clients. Failure to bill customers or clients for the amount of the expense means that your business will end up paying more money, essentially giving the customer or client the purchased item for free. As a business owner, you must collect payment where payment is due, and that includes when purchasing products or services on behalf of your customers or clients — a process that’s easily checked using billable expenses.
How to Access Billable Expenses in Quickbooks
In Quickbooks, you can mark bills, expenses and even checks as billable. Once marked as billable, you’ll have the option of attaching the expense to an invoice. So, if you want to create a billable expense for a customer, simply create a bill or expense, mark it as billable, and attack it to invoice for the appropriate amount.
If you’re having trouble using billable expenses in Quickbooks, you should check to make sure this feature is turned on. This is done by logging in to your Quickbooks account and clicking “Account and Settings.” Next, click “Expenses,” followed by the pencil icon below “Bills and expenses.” You should see a small box labeled “Track billable expenses and items as income.” Click it so that it creates a check mark box, after which you can click “Save” to complete the process. Quickbooks will now allow you to create billable expenses for your customers or clients.
Have anything else that you’d like to add? Let us know in the comments section below!
